
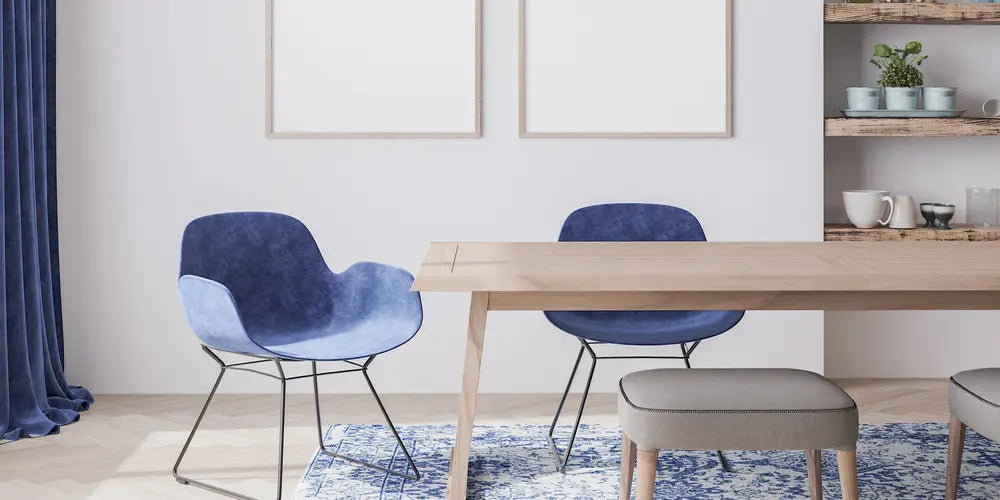
The world of furniture has undergone a significant transformation in recent years. With the rise of DIY (Do It Yourself) trends and the growing desire for a unique interior, more and more people are turning to made-to-measure furniture. In this context, knowing how to build a wooden table with an extension becomes not only an appealing skill but also a necessity for those who want to personalise their space to their taste.
Making your own wooden table with an extension is an exciting undertaking. Not only does it give you the freedom to choose the materials and the design, it also lets you add a personal touch to your interior or exterior scheme. It is also an excellent way to save money while acquiring new woodworking skills.
In this article, we explore together how to build a wooden table with an extension. We cover key topics such as choosing the materials, designing the plan, making the table and finishing it, as well as its upkeep. We also share a few ideas for the layout and decoration around your new centrepiece.
So get ready to dive into the fascinating world of DIY and interior design!
1. Choosing the materials

Type of wood
One of the first choices to make when building a wooden table with an extension is the type of wood to use. There are plenty of options, each with its own characteristics and advantages. For example, oak is renowned for its durability and strength, while pine is appreciated for its lightness and ease of working. Other popular options include maple, walnut and teak.
It is important to note that your choice of wood can have a significant impact on the final look of your table. Make sure you choose a wood that suits not only your practical needs but also your aesthetic preferences.
Other materials needed
Besides wood, you will need a variety of other materials for your project. These include screws, nails, sandpaper and varnish or paint for the finish. You will also need specific tools such as a circular saw or a jigsaw, a screwdriver or an electric drill and, possibly, an electric sander.
Now that we have covered the basics of choosing the materials needed to build a wooden table with an extension, it is time to move on to the next step: designing the plan. So stay tuned! And remember: if you are interested in other DIY projects or looking for design ideas, subscribe to our newsletter to receive inspiration straight to your inbox.
2. Designing the plan
Having chosen the wood and the other materials needed to build your table, it is now time to design the plan. A well-thought-out plan will help you visualise your project and avoid costly mistakes along the way.
Determining the dimensions
Start by determining the dimensions of your table. The dimensions you choose will depend on the space available in the room where the table will stand, as well as the number of people you plan to seat. For a standard dining table, consider a width of around 90 cm and a length that varies with the number of guests.
Remember to include the dimensions of the extensions in your plan as well. The extensions should be wide enough to comfortably seat one extra person on each side of the table.
Technical drawing
Once you have defined the dimensions, draw a technical sketch of your table with its extension. This includes a plan view (top view), an elevation view (side view) and possibly a perspective view to help you visualise the final product.
Remember to include all the important details in your drawing, such as the position of the joints, the shape of the table legs or any other decorative element you want to add.
3. Making the table

Now that you have your plan in hand, it is time to move on to making the table. This part of the process may seem daunting, but with a little patience and attention to detail, you can create a beautiful wooden table with an extension.
Cutting the wood
The first step is to cut the wood to the dimensions specified in your plan. Use a circular saw to get clean, precise cuts. Make sure you measure carefully before every cut to avoid any mistakes.
Assembling the pieces
Once all the pieces are cut, start assembling the table. Begin by fixing the legs to the top using strong screws. Then fit the extensions on the sides of the table. You can use a sliding system or hinges for this.
The assembly must be carried out with care to ensure the stability and durability of the table. Remember to use a spirit level to check that all the parts are perfectly aligned.
Fitting the extension mechanism
Finally, fit the mechanism that will let the extensions open out and fold back easily. There are several types of extension systems on the market; choose the one that best suits your needs and skills.
We have now covered the essential steps for building a wooden table with an extension. In the next part, we discuss the finishes and upkeep that keep your table beautiful and functional for many years.
4. Finishes and upkeep
Once your wooden table with an extension is built, it is time to give it the final touch that will enhance its looks and ensure its durability. The finish you choose will depend on your personal taste, the type of wood used and the intended use of the table.
Choosing the finish
For a rustic look, a simple coat of oil may be enough. Natural oils such as linseed oil or tung oil penetrate deep into the wood, protecting it against water and stains while bringing out the grain. If you prefer a glossier look, a varnish could be a good idea. Varnish also offers excellent protection against scratches.
Applying the finish
Applying a finish to your table takes a few simple but essential steps. First, make sure the wood is clean and dry. Then apply the finish following the manufacturer's instructions. For an even application, use a brush or a soft cloth.
Regular upkeep
To preserve the beauty and function of your table over time, regular upkeep is essential. Clean it with a damp cloth to remove dust and debris. If you have chosen an oil finish, remember to reapply oil once a year to keep the wood protected.
Now let us move on to the last part of our guide: how to arrange and decorate around your newly built table.
5. Layout and decoration around the table
Your wooden table with an extension is now ready to be the centre of attention in your space. Here are a few ideas to show off this centrepiece.
Choosing the chairs
The chairs you choose to go with your table will play a major role in the overall look of your dining room. For a harmonious effect, opt for wooden chairs that complement the tone and style of your table. If you prefer a bolder approach, consider chairs in a contrasting style or colour to create a dynamic effect.
Lighting
Lighting can transform the atmosphere of a room. A chandelier hung just above the table can provide practical light and also serve as an attractive focal point. For a softer, more intimate mood, consider using candles or dimmable lamps.
Decorating the table
Remember that your table is also a blank canvas for your decorative creations. An elegant table runner, a vase of fresh flowers or a collection of candlesticks can add a personal touch to your table.
By following these tips, you can create a welcoming, attractive space around your wooden table with an extension. Now all that remains is to invite your loved ones and enjoy good meals around your unique creation!
Wandering through the winding paths of building wooden tables with extensions, we have discovered together that it is not only a matter of DIY but a true creative adventure. From the wise choice of materials to the design of a clever plan, every step is crucial to making a table that reflects your taste and your needs.
We have also learned that a well-made table is not limited to its function. Its finish and upkeep play an equally important role in improving its looks and durability. And when it is harmoniously integrated into your interior or exterior scheme, it can transform the atmosphere of your space.
So now it is your turn! Put this newly acquired knowledge into practice and create your own masterpiece. And if you need extra inspiration or a ready-made alternative, do explore the exclusive collections at Verano Design. Whether you want elegant coffee tables or sophisticated dining tables, every piece is designed with passion and precision.
With designer furniture trends constantly evolving, stay in touch with us to discover the latest innovations and inspiration. Who knows? Perhaps the next big trend will be the one you started with your custom table!
We would love to hear about your experiences, ideas or questions on building wooden tables with extensions. Share them in the comments below or on our social media. And remember, every DIY project is a story to tell, and we cannot wait to hear yours.






