
Introduction
At the heart of innovation and design lies a constant desire to explore new ideas and to create unique pieces that capture attention and spark the imagination. An inclined plane table is a perfect example of this creative boldness. Not only does it break with traditional furniture conventions, it also offers unexpected practical use. So why not take on the adventure and make your own inclined plane table?
This exciting project is not only a stimulating challenge for your DIY skills; it also gives you the chance to add a personal touch to your indoor or outdoor space. Whether it is a stylish desk for your home office or an intriguing coffee table for your living room, an inclined plane table is more than just a piece of furniture: it is a style statement.
In this article, we will guide you step by step through this ambitious project. We will start by looking at the materials you need, then move on to the essential tools before diving into the building process itself. Finally, we will share some care tips and DIY tricks, as well as ideas for fitting your new creation harmoniously into your space. Ready to take up the challenge? Then let's begin.
Come and discover our designer tables!
1. The materials you need to make an inclined plane table
Choosing the wood

Every great DIY project starts with the choice of materials. For an inclined plane table, wood is the most common and most versatile option. Whether you prefer a rustic look with raw pine or a modern style with stained oak, wood offers a variety of textures and finishes that can be matched to your personal taste.
Where to find the materials?
You can find a wide variety of wood at your local DIY shop. It is important to choose boards thick enough to ensure the stability and durability of your table. Do not hesitate to ask the sales staff for advice if you are not sure which type of wood would suit your project best.
Other materials needed
As well as wood, you will need other materials such as screws, dowels and wood glue to assemble your table. You will also need a varnish or paint to finish your piece to your liking.
Now that we have covered the materials you need, it is time to move on to the essential tools for carrying out this exciting project. Stay with us as we dive into this crucial part of the process.
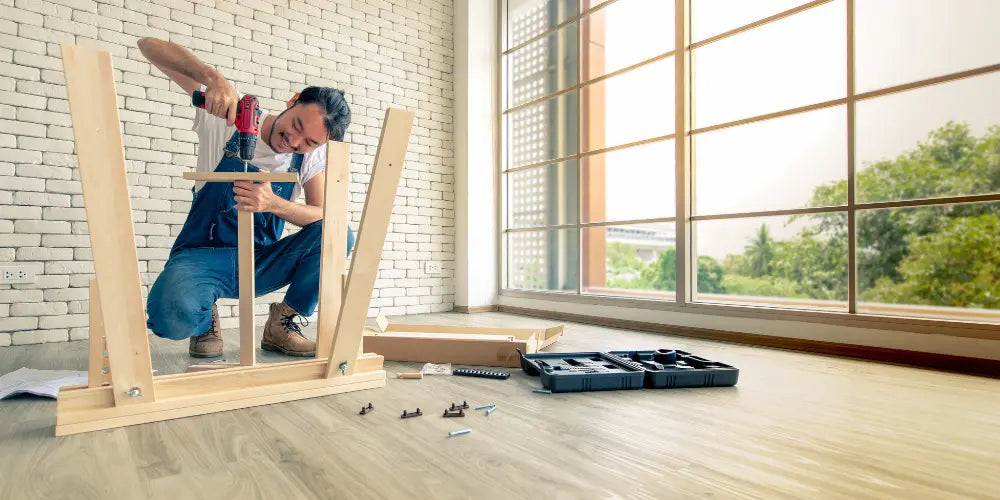
Remember: Verano Design is here to inspire you and help you make your interior design dreams come true. For more DIY project ideas and decorating tips, do not hesitate to sign up to our newsletter. Part 2: The essential tools for making it The construction of an inclined plane table requires a number of essential tools. Among them, you will need a circular saw or jigsaw to cut the wood to the size you want. A spirit level is also essential to make sure your table is perfectly level. An electric drill with bits of different sizes will let you drill the holes needed to fix the pieces together. Do not forget the sandpaper either, to smooth rough edges and give your table a smooth finish. For safety, make sure you wear protective goggles when using power tools and gloves when handling raw wood to avoid splinters. It is also advisable to work in a well-ventilated space, especially if you plan to paint or varnish your table. It may be tempting to save money on tools, but remember that they are an investment. Good-quality tools can make the difference between a table that looks like an amateur project and a centrepiece that draws admiration. Part 3: The step-by-step building process Now that we have covered the materials and tools you need, let's move on to the actual building process. Follow these steps carefully and do not hesitate to seek advice if you run into difficulties. 1. Measure and cut your pieces of wood to the size you want. Do not forget to allow for the slope of your table when cutting. 2. Sand all the pieces to remove rough spots and prepare the wood for painting or varnishing. 3. Drill holes in the corresponding pieces to prepare for assembly. Make sure the holes are properly aligned to avoid any distortion. 4. Assemble your table by screwing or nailing the pieces together. Use the spirit level regularly to make sure everything is perfectly aligned. 5. Once your table is assembled, apply a coat of paint or varnish to your taste. 6. Leave it to dry completely before using your new inclined plane table! Remember, patience is the key in any DIY project. Take your time and do not hesitate to take breaks if necessary. After all, you are building not only a table but also a sense of achievement, and perhaps even a new passion! In our next part, we will look at how to maintain and repair your new creation so that it stays beautiful for a long time.4. Care tips and DIY tricks

Cleaning
To begin with, cleaning is the first stage of upkeep. Use a soft, damp cloth to wipe the surface of your table regularly. Avoid harsh chemicals, which can fade or damage the wood.Varnishing
Next, think about varnishing your table roughly every two years. Varnish protects the wood from damp and scratches while improving its appearance. Choose a clear varnish to keep the natural colour of the wood, or opt for a different shade to change the look of your table.DIY tricks
Finally, a few DIY tricks can help you keep your table in perfect condition. For example, if you notice scratches on your table, try rubbing a walnut over the affected area. The natural oil in the walnut can help to hide minor scratches.Moving on to the next part
Now that you know how to look after your inclined plane table, let's see how to fit this unique piece into your indoor or outdoor space.5. Decorating and furnishing with an inclined plane table
An inclined plane table is more than just a piece of furniture, it is a centrepiece that can transform any space. Here are a few ideas to help you get the most out of your new creation.Indoor space
In an indoor space, your inclined plane table can serve as a stylish desk in your home office or as a one-of-a-kind dining table in your dining room. To emphasise its rustic charm, pair it with modern chairs to create an interesting contrast. You can also decorate the surface of the table with minimalist accessories such as candles, plants or books.Outdoor space
If you prefer to use your table outdoors, it can make a magnificent picnic table in your garden or a relaxing coffee table on your terrace. For outdoor furnishing, think about weather-resistant materials for the chairs and use colourful cushions to add comfort and style.Conclusion to part 5
Whether indoors or outdoors, an inclined plane table offers a unique blend of rustic and modern aesthetics that is sure to impress your guests. With these care and layout tips, you are now ready to make the most of your new creation!All in all, making an inclined plane table is an exciting adventure that calls for both patience and skill. Far from being insurmountable, this project offers the unique opportunity to create a piece of furniture that reflects your personal taste while adding a touch of originality to your space.
Together we have explored the materials you need, the essential tools, the step-by-step building process, as well as care tips and DIY tricks to preserve your table. We have also discussed the different ways you can show off your creation in your indoor or outdoor layout.
Making a piece like this is not only a personal accomplishment but also an affirmation of your sense of style and creativity. It is a concrete way of expressing your identity through your choice of furniture and décor.
If this project has inspired you and you would like to explore the world of premium design further, we invite you to discover our exclusive collection at Verano Design. Whether you are looking for an elegant coffee table for your living room or a sturdy outdoor dining table for your meals in the open air, our selection will meet all your expectations.
We cannot wait to see how you will put this knowledge into practice in your future projects. And remember: every piece of furniture tells a story, so let yours begin with an inclined plane table. We encourage you to share your experiences and creations on our social networks, as we are always delighted to see how our readers put our advice into practice.
As the world of design is constantly evolving, stay connected with Verano Design to stay at the forefront of trends and discover new inspiration. After all, every piece of furniture is an opportunity to innovate and push the limits of your creativity.






