
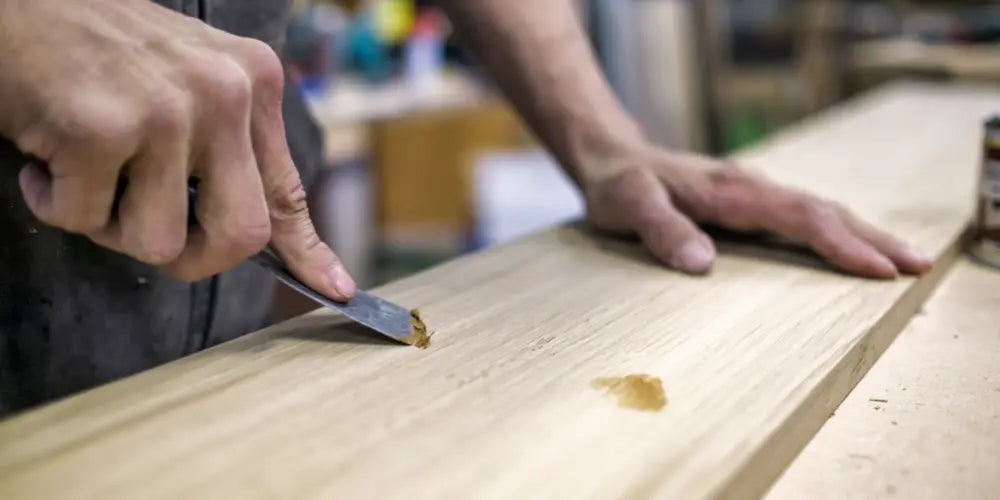
There is no denying that craft and DIY have taken a leading place in our lives, particularly in this era when sustainability and recycling are increasingly valued. Turning objects once destined for the bin into distinctive pieces for our home is not only an ecological approach but also a way of expressing our creativity.
It is in this context that we present today a practical guide on how to build a pallet wood table. This type of furniture has grown in popularity in recent years, offering an affordable, sustainable alternative to conventional furniture while adding a rustic touch to your interior or exterior decor.
In this article, we explore together the various stages of building a pallet wood table: from choosing the materials to the final personalisation. You will also find out how to prepare your pallets, assemble your table and look after it regularly to guarantee its longevity.
Ready to take on this DIY challenge? Then grab your tools and dive into this creative journey with us!
1. The materials you need
1.1 Choosing the pallets
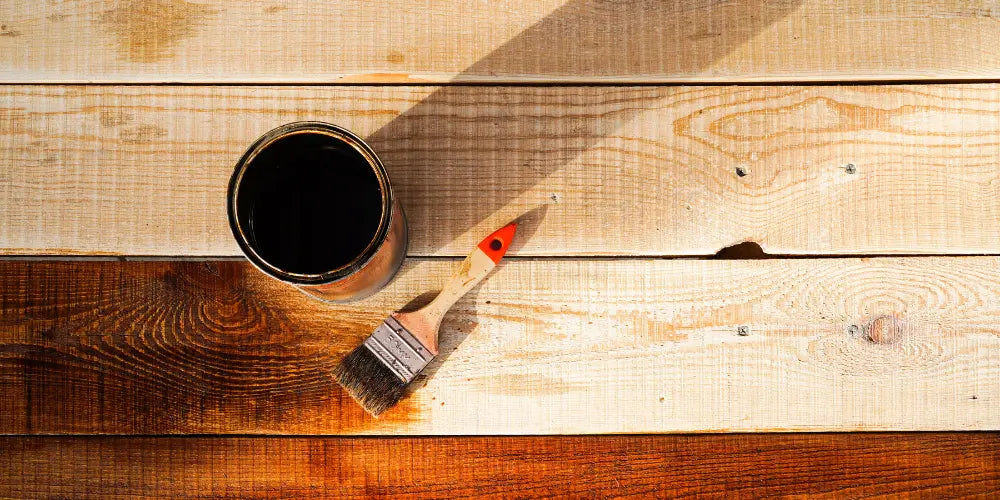
Choosing the pallets is crucial to the success of your project. Opt for sturdy pallets with no cracks or signs of rot. There are several types of pallet available on the market, but for this project we recommend pallets made of solid wood for their durability and looks. Also make sure your pallets have not been treated with harmful chemicals.
1.2 The essential tools
To build your pallet wood table, you will need a few basic tools: a jigsaw or a circular saw to cut the boards to the size you want, a hammer and nails (or an electric screwdriver) to join the pieces, and sandpaper to sand the wood. You will also need a brush or a roller if you plan to paint or varnish your table.
1.3 Safety when handling tools
Remember that safety must always be your priority when working with tools. Always wear protective goggles to shield your eyes from wood splinters, and use strong gloves to avoid cuts. If you are using power tools, make sure they are well maintained and used in a safe, stable place.
With these elements in place, you are now ready to start preparing your pallets! Stay tuned to find out how to dismantle your pallets efficiently and how to clean and sand the wood before assembly.
And remember: at Verano Design, we love to see your creations! Do share your experiences and results with us using the hashtag on social media. Happy DIY!
2. Preparing the pallets
Preparing the pallets is a crucial stage in building your pallet wood table. It not only ensures the durability and stability of your furniture but also contributes to its final look.
2.1 Dismantling the pallets
Dismantling pallets can prove a challenge, especially for beginners. To make the task easier, equip yourself with a crowbar or a jigsaw to remove the boards without damaging them. Take the time to remove all the nails and any other metal elements that could get in the way of assembling your table later.
2.2 Cleaning and sanding the wood
After dismantling, it is essential to clean each board with a wire brush to remove any dirt or unwanted residue. Then sand the wood to give it a smooth, even surface. This will help the varnish or paint to adhere during the finishing stage, and will improve the overall look of your table. Have you ever thought about how important the grain of the wood is to your project? A well-sanded pallet often reveals a beautiful grain that adds character to your furniture.
3. Assembling the table
Now that your pallets are ready, let us move on to the next step: assembling the table. This step calls for precision and a good dose of patience.
3.1 Building the tabletop
The first step is to join the boards to form the tabletop. Lay them side by side and fix them together using battens and screws. Take care to align the boards well to get a flat surface.
3.2 Fitting the legs
To fit the legs, you can use other pieces of pallet or opt for metal legs for a more industrial look. Fix each leg to the tabletop, making sure they are well balanced to keep your table stable. How tall do you want your table to be? Should it be low, like a living room coffee table, or taller, like a dining table? By following these steps, you will soon have a beautiful, personalised pallet wood table. In the following sections, we explore how to give your creation a professional finished look with suitable finishes and how to look after it to guarantee its longevity.
4. Finishes and care
After assembling your pallet wood table, the next step is to finish it and prepare it for regular use. This step is essential to ensure not only the looks of your table but also its durability.
4.1 Varnishing or painting
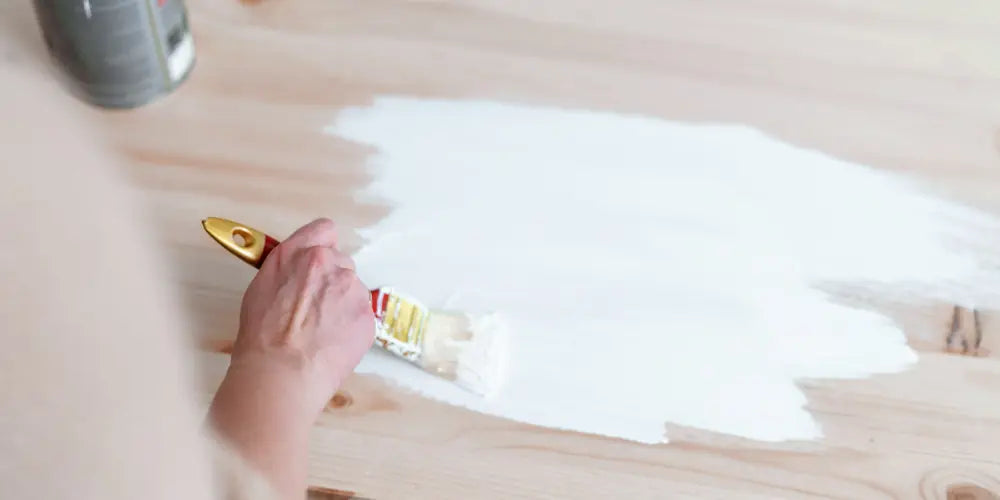
One of the most common ways to finish a pallet wood table is to apply a coat of varnish or paint. These products protect the wood against damage caused by water, scratches and other outside stresses while improving its appearance. The choice between varnish and paint depends largely on your personal preferences. If you want to keep the natural look of the wood, opt for a clear varnish. To add a touch of colour, choose a paint that harmonises with your interior decor.
4.2 Regular upkeep
Like any other furniture, a pallet wood table needs regular upkeep to keep its new look and extend its life. This may involve periodic cleaning with a damp cloth to remove dust and stains, as well as the occasional application of a wood care product to restore its shine. Once you have finished your pallet wood table, it is time to consider how you can personalise and decorate this distinctive piece so that it fits perfectly into your space.
5. Personalisation and decoration
A pallet wood table offers a blank canvas for expressing your creativity. With a few personal touches, you can turn a simple wooden table into a true focal point that reflects your personal style.
5.1 Adding decorative elements
The possibilities are endless when it comes to personalising your pallet wood table. For example, you can add handles or wheels to the legs to make it easier to move, fix a glass top for a more sophisticated look, or even paint an artistic pattern on the top for a touch of originality.
5.2 How to harmonise your table with the rest of your interior decor
When decorating your pallet wood table, it is important to take the rest of your interior design into account. Try to harmonise colours and materials to create a cohesive atmosphere. For example, if you have a modern interior with a lot of stainless steel and glass, you may want to paint your table white or light grey and add metal accessories. Ultimately, the beauty of a pallet wood table lies in its rustic simplicity and versatility. With a little imagination and effort, you can create a piece that not only meets your practical needs but also reflects your personal taste.In summary, building a pallet wood table is not only a rewarding DIY project, it is also a sustainable, creative way of beautifying your interior or exterior space. From selecting the pallets to the final finish, every stage gives you the chance to personalise your piece according to your tastes and needs.
The importance of this project lies not only in the final product but also in the process itself. It is an exciting journey that lets you learn and develop your DIY skills while respecting the environment.
And remember: a table is much more than a simple piece of furniture. It is the centre of many daily activities, a place for sharing and exchange. By building your own pallet wood table, you create a piece that tells a story, your story.
Now that you have the know-how to build your own pallet wood table, we encourage you to discover the collections offered by Verano Design. Whether you are looking for an elegant coffee table for your living room or a large dining table to host your guests outdoors, our online shop offers a varied range of premium designer furniture to complement your creation.
We look forward to seeing how you put this knowledge into your future projects. Feel free to share your creations with us on our social media or in the comments below. And stay tuned for more tips and inspiration on interior and exterior design and decoration.
Finally, remember that the world of designer furniture is constantly evolving. Trends change, new techniques appear and tastes develop. At Verano Design, we are always on the lookout for the latest innovations and are committed to giving you the best information to help you create a space that suits you.
So, are you ready to take up the challenge? Get your tools out!






